When I first discovered how powerful n8n is for workflow automation, I knew I had to get it running on my PC. Through testing multiple installation methods and debugging different configurations, I’ve put together this comprehensive guide based on my personal experience of n8n installation locally on Windows, macOS, and Linux OS.
What are the steps to set up n8n on your Machine?
Sure! If you’re looking for how to install n8n, or how to run n8n locally, you can install n8n using npm with the command npm install n8n -g, then open it with n8n or n8n start. It is recommended to use Docker for production setups due to more isolation and easy management. Both solutions offer unlimited executions and complete access to all n8n automation features.
Why Install n8n Locally Instead of Using the Cloud?
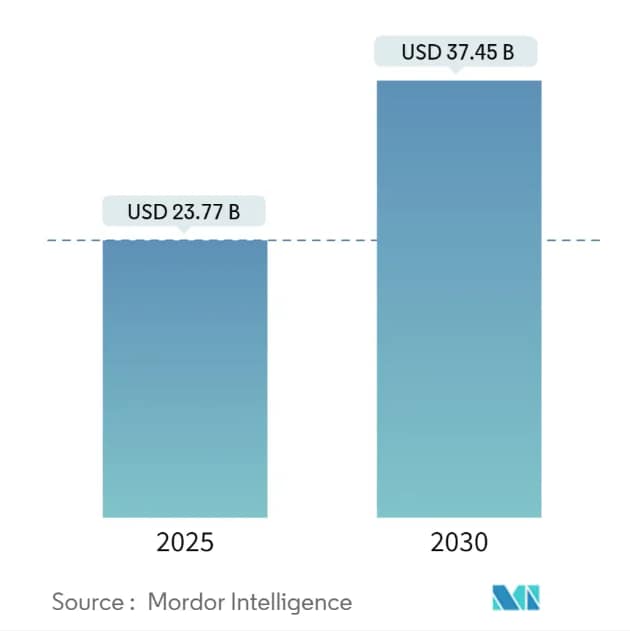
While testing n8n, I found a lot of reasons to run n8n locally rather than on the cloud. The workflow automation market is projected to reach $37.45 billion by 2030, with a compound annual growth rate of 9.52%, making local automation solutions increasingly valuable for businesses and individuals alike. Understanding how to install n8n and how to run n8n locally can provide significant advantages.
Comparing the term local installation vs. n8n Cloud results in nearly instant cost savings. My local installation of n8n handles unlimited workflows without any recurring fees, while n8n Cloud claims to start at $24/month for 2,500 executions. For my automations, which might deal with a thousand of each data type daily, this is a lot of long-term savings.
One other factor that influenced my decision was data security. Running n8n locally means my sensitive business data is not leaving my infrastructure, and helps in meeting many businesses’ compliance requirements. According to recent statistics, 85% of CFOs face challenges leveraging technology and automation, often due to security and compliance concerns that local installations can help address.
Prerequisites and System Requirements
Before diving into how to install n8n, it’s essential to understand the prerequisites and system requirements. From my experience with different systems, these are the key requirements.
Hardware Requirements
- You will need at least 2GB of RAM, but I’d suggest investing in 4GB for smooth functioning when working with multiple workflows.
- The app and workflow data require a minimum of 1GB of free space.
- A modern CPU will work as n8n uses more memory than the CPU.
Software Prerequisites
Node.js is of the utmost importance. From my installations, n8n worked best with Node.js 18 or higher. I have problems with older versions, especially with some community nodes.
If you’re up to using Docker (which I recommend), you would need:
- You need Docker Desktop or Docker Engine.
- Docker Compose helps in using multiple containers.
Method 1: Installing n8n with npm (Quickest Setup)
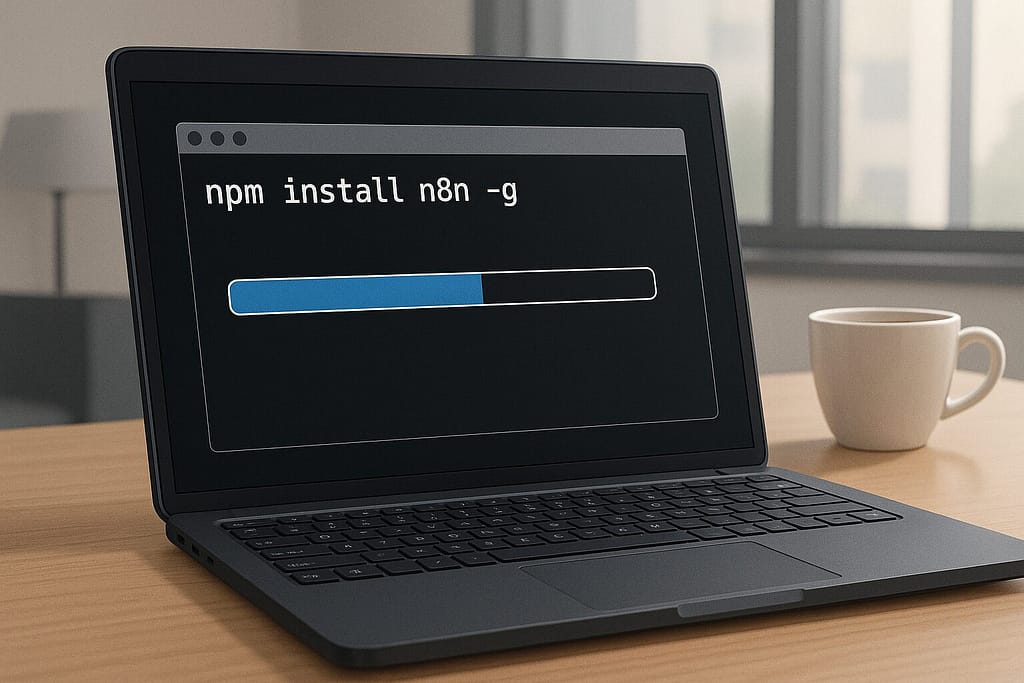
If you’re wondering how to install n8n quickly, my first installation method is the fastest way to launch n8n locally. Here’s exactly how I did it.
Step 1: Install Node.js
I got Node.js from the Node.js website and installed it using the standard way. To verify the installation, I ran:
node --version
npm --version
Step 2: Install n8n globally
The global installation command I used was:
npm install n8n -gOn my system, this process took about 3-5 minutes, which depended on internet speed. The global flag (-g) ensures n8n is available system-wide.
Step 3: Start n8n
Once installation was completed, I started n8n:
n8n
Alternatively, you can use:
n8n startThe n8n took about half a minute at first startup while n8n initializes the database and config files. I saw output indicating the server was running on http://localhost:5678 .
Step 4: Access the Interface
Opening my browser to http://localhost:5678 , I was greeted with n8n’s setup wizard. Setting this up required an admin account to be made with email, password, and other basic preferences.
Troubleshooting npm Installation
During my testing, I encountered a few common issues.
Permission errors on macOS/Linux. I resolved this by using:
sudo npm install n8n -gPort conflicts: If port 5678 is busy, start n8n on another port.
Memory issues for command n8n start: I increased node memory on systems with limited RAM.
node --max-old-space-size=4096 /usr/local/bin/n8nMethod 2: Docker Installation (Recommended for Production)
For those looking to understand how to run n8n locally in a production environment, Docker offers a robust solution. Upon performing some initial tests with the npm method, I switched to Docker for my production environment. I was convinced the isolation and management benefits made this the best option.
Basic Docker Setup
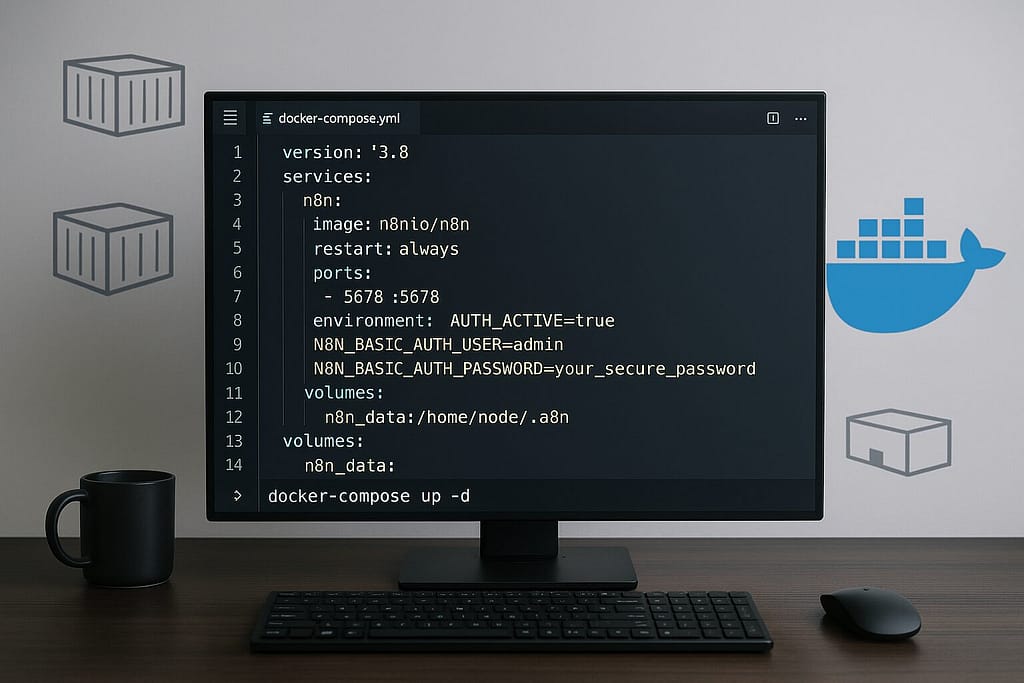
The very first setup, I created my docker-compose.yml file:
version: '3.8'
services
n8n
image: n8nio/n8n
restart: always
ports
5678:5678
environment
N8N_BASIC_AUTH_ACTIVE=true
N8N_BASIC_AUTH_USER=admin
N8N_BASIC_AUTH_PASSWORD=your_secure_password
volumes
n8n_data:/home/node/.n8n
volumes
n8n_data
Starting the container was straightforward
docker-compose up -dAdvanced Docker Configuration
For my production environment, I set up a proper production-grade PostgreSQL database with appropriate data persistence:
version: '3.8'

services:
  postgres:
    image: postgres:13
    restart: always
    environment:
      POSTGRES_DB: n8n
      POSTGRES_USER: n8n
      POSTGRES_PASSWORD: n8n_password
    volumes:
      - postgres_data:/var/lib/postgresql/data

  n8n:
    image: n8nio/n8n
    restart: always
    ports:
      - "5678:5678"
    environment:
      DB_TYPE: postgresdb
      DB_POSTGRESDB_HOST: postgres
      DB_POSTGRESDB_PORT: 5432
      DB_POSTGRESDB_DATABASE: n8n
      DB_POSTGRESDB_USER: n8n
      DB_POSTGRESDB_PASSWORD: n8n_password
      N8N_BASIC_AUTH_ACTIVE: 'true'
      N8N_BASIC_AUTH_USER: admin
      N8N_BASIC_AUTH_PASSWORD: your_secure_password
    volumes:
      - n8n_data:/home/node/.n8n
    depends_on:
      - postgres

volumes:
  n8n_data:
  postgres_data:
I used this configuration to enhance the performance and data reliability of my workloads.
Configuring n8n for Local Development
Once you know how to install n8n, configuring it for local development is the next step. I tried out a few tests, and I discovered some key environment variables that made my n8n work locally much better.
Environment Variables
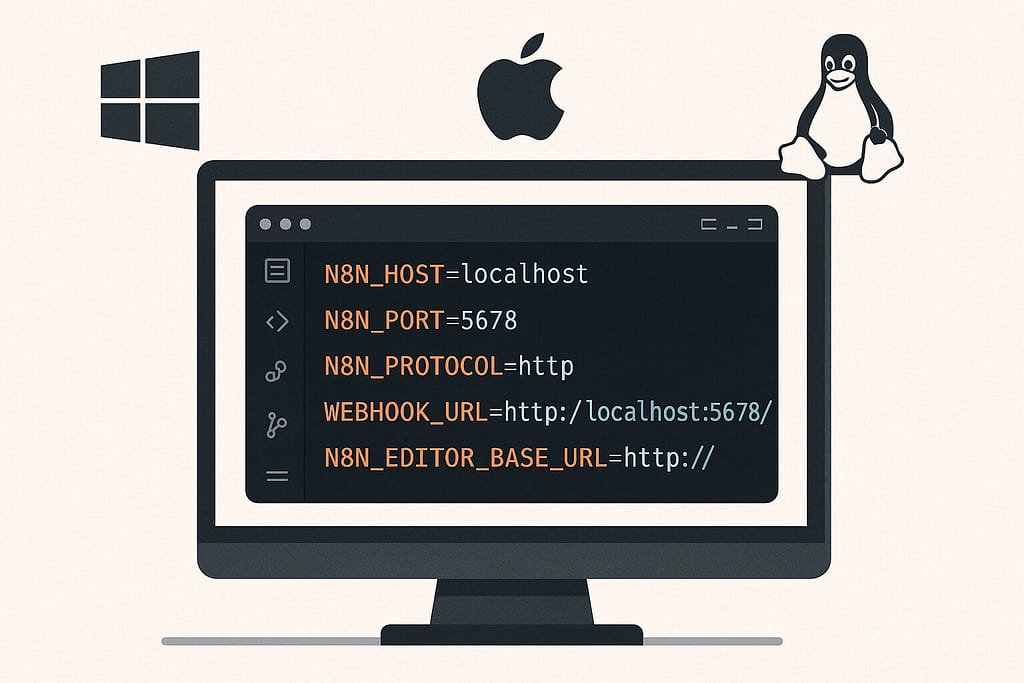
I tried out a few tests, and I discovered some key environment variables that made my n8n work locally much better:
N8N_HOST=localhost
N8N_PORT=5678
N8N_PROTOCOL=http
WEBHOOK_URL=http://localhost:5678/
N8N_EDITOR_BASE_URL=http://localhost:5678/

# For development work, I also enabled:
N8N_LOG_LEVEL=debug
N8N_DIAGNOSTICS_ENABLED=true
Database Configuration
While n8n uses SQLite for local installs, I found PostgreSQL was a better performer for complex workflows. My database configuration is included:
DB_TYPE=postgresdb
DB_POSTGRESDB_HOST=localhost
DB_POSTGRESDB_PORT=5432
DB_POSTGRESDB_DATABASE=n8n
DB_POSTGRESDB_USER=n8n_user
DB_POSTGRESDB_PASSWORD=secure_password
Security Considerations
I adopted elementary security arrangements, even for local installations:
- Always enable basic auth or proper user management.
- Network isolation to isolate n8n containers with Docker networks.
- Encryption used to be available, which can keep workflow-sensitive data encrypted.
- Automating data and workflows can save a lot of time.
Connecting to External Services and APIs
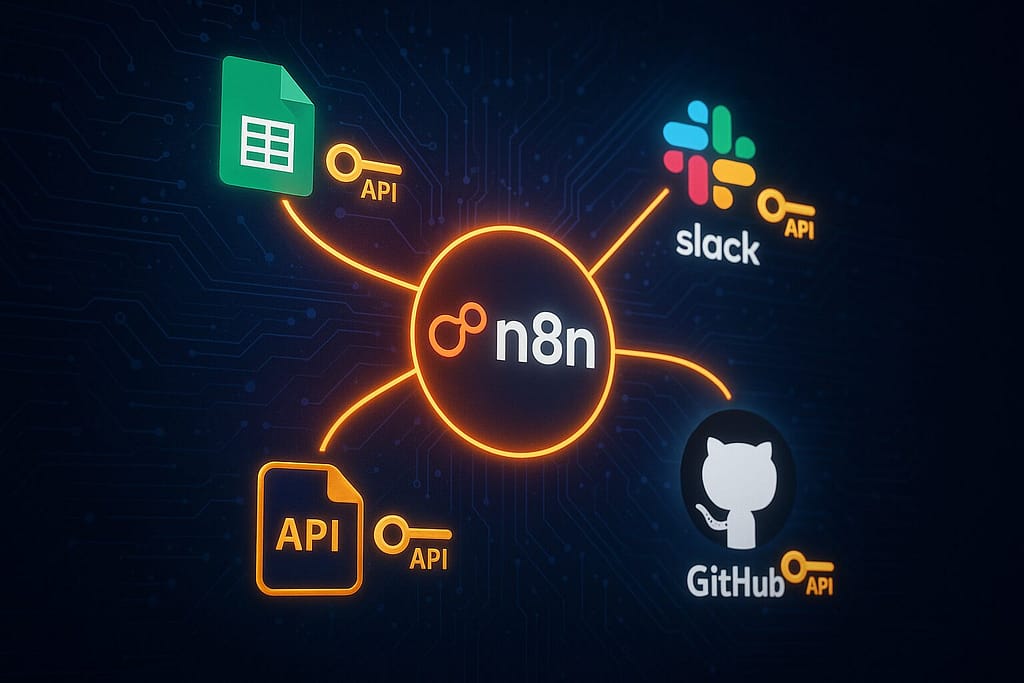
n8n is particularly strong in its ability to connect with other services. While setting up, I connected to several APIs and services.
API Credentials Management
I saved my API keys and credentials using n8n’s built-in credential system that encrypts data. For local development, I also used environment variables:
GOOGLE_API_KEY=your_google_api_key
SLACK_BOT_TOKEN=your_slack_token
OPENAI_API_KEY=your_openai_key
Webhook Configuration
I used ngrok to create secure tunnels for receiving webhooks locally.
I entered the command ngrok http 5678. This created a public URL for external services to send the webhooks to my local n8n instance.
Testing External Connections
I made test workflows to test the connection to big services:
- Use Google Sheets for Data Manipulation
- Slack for notifications.
- Services that send auto-emails.
- APIs that conform to the REST architectural style.
Performance Optimization and Best Practices
Memory Management
I optimized memory usage based on my experience running complex workflows:
# Use single-process execution to reduce memory footprint
EXECUTIONS_PROCESS=main

# Set execution timeout to 3600 seconds (1 hour) for long-running workflows
EXECUTIONS_TIMEOUT=3600

# For development, save execution data only on errors to reduce storage
EXECUTIONS_DATA_SAVE_ON_ERROR=none
Workflow Organization
I developed a systematic approach to organizing workflows:
- Used descriptive naming conventions.
- Version control added for exporting workflows.
- Made sub-workflows reusable for common tasks.
- Workflow notes captured intricate logic.
Monitoring and Logging
For production use, I implemented comprehensive monitoring:
N8N_LOG_LEVEL=info
N8N_LOG_OUTPUT=file
N8N_LOG_FILE_LOCATION=/var/log/n8n/
In case the logs use up too much space, I set up log rotation to prevent space failure. I also set up alerts to trigger when a workflow fails
Common Installation Issues and Solutions
Port Conflicts
I faced connection errors when port 5678 was in use. The solution was either:
- Stop the conflicting service.
- Change n8n’s port using the environment variable:
N8N_PORT=5679Node.js Version Compatibility
When using Node.js version 16, there would be a problem. The solution was to upgrade Node.js 18 or above:
nvm install 18
nvm use 18
Permission Issues
On Linux systems, I resolved permission problems by:
- Use proper user permissions for the n8n directory.
- Avoid running n8n as root.
- Setting the correct file ownership for data directories.
Database Connection Problems
When using PostgreSQL, I troubleshoot connection issues by:
- Verifying database credentials.
- Checking network connectivity.
- Ensuring PostgreSQL was accepting connections.
- Validating database permissions.
Updating and Maintaining Your Local n8n Installation
npm Updates
For npm installations, I regularly updated using:
npm update -g n8nI always check the changelog before putting in an update for new features and bug fixes.
Docker Updates
For Docker installations, my update process involved:
docker-compose pull        # Pull latest images
docker-compose down        # Stop and remove containers
docker-compose up -d       # Start containers in detached mode
I have separate testing and production environments to test all updates before applying them to critical workflows.
Backup Strategies
I implemented automated backups of:
- Workflow configurations (exported as JSON).
- Database dumps (for PostgreSQL setups).
- Environment configurations.
- Custom node installations.
Each day, my backup script ran and stored copies in various locations.
Advanced Configuration Options
Custom Node Installation
I added functionality to n8n by installing community nodes:
npm install n8n-nodes-custom-node-nameI made customized images with pre-installed nodes for Docker setup.
FROM n8nio/n8n
USER root
RUN npm install -g n8n-nodes-custom-node-name
USER node
SSL/HTTPS Configuration
For production deployments, I configured HTTPS with reverse proxies using Nginx:
server {
    listen 443 ssl;
    server_name your-domain.com;

    ssl_certificate /path/to/certificate.crt;
    ssl_certificate_key /path/to/private.key;

    location / {
        proxy_pass http://localhost:5678;
        proxy_set_header Host $host;
        proxy_set_header X-Real-IP $remote_addr;
        proxy_set_header X-Forwarded-For $proxy_add_x_forwarded_for;
        proxy_set_header X-Forwarded-Proto $scheme;
    }
}
Multi-Instance Setup
In order to achieve high availability, I set up several instances of n8n that share dB storage and load balance.
Comparing Local vs Cloud Installation
Having tested both approaches extensively, here’s my take.
Local Installation Advantages:
- Unlimited executions without cost.
- You control your data completely.
- Customization flexibility.
- The main feature would not need the internet.
Local Installation Challenges:
- It takes tech to repair and set up.
- The updates and security were done manually.
- Only available to my local network without extra configuration.
- Backup and disaster recovery are everyone’s responsibility.
When to Choose Local:
- High-volume automation needs.
- Strict data privacy requirements.
- Custom node development.
- Cost-sensitive projects.
The global workflow automation market growth of 10.1% CAGR between 2024 and 2032 indicates increasing adoption of automation tools, making local installations increasingly attractive for organizations seeking cost-effective solutions.
Getting Started with Your First Workflow
I suggest creating a simple workflow to test things when you have your local n8n installation running. My go-to test workflow involves:
- A basic starting point is with a Manual Trigger node.
- Make an API call to a public service using an HTTP request.
- Transform the Data That Has Been Received
- The result is displayed and/or saved.
The standard procedure tests core functionalities and external connectivity, which will enable your installation to perform more complex automated tasks.
Running n8n locally allows you to do anything you want without any execution restrictions or cost. With n8n reaching $40M in revenue and growing rapidly, the platform’s stability and feature set continue to improve, making local installations an increasingly powerful option for automation enthusiasts and businesses alike.

You can use either the fast npm installation for a quick test or a solid Docker installation for actual production use. Knowing how to install n8n and how to run n8n locally allows you to automate any workflows, process data, and integrate systems without limits, all while being in full control of your automation.


